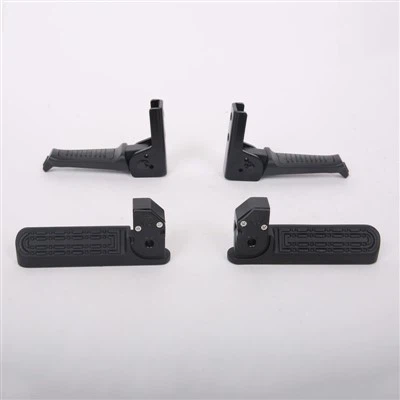
Diagnosing a problem with the motorcycle connecting board's wiring is crucial for maintaining the optimal performance of a motorcycle. As a supplier of Motorcycle Connecting Board, I understand the significance of ensuring that the wiring of these connecting boards is in top - notch condition. In this blog, I will share some in - depth knowledge on how to diagnose wiring issues with motorcycle connecting boards.
Understanding the Motorcycle Connecting Board and Its Wiring
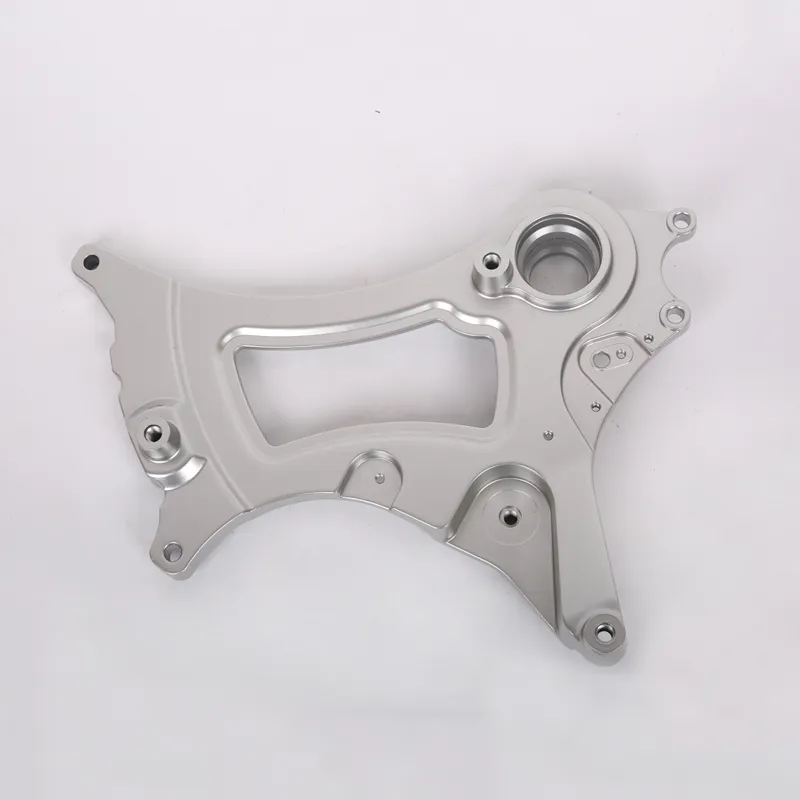
Before we start diagnosing problems, it's essential to have a basic understanding of what a motorcycle connecting board is and how its wiring functions. A Motorcycle Connecting Board is a critical component that serves as a junction point for various electrical circuits in a motorcycle. It connects different electrical parts such as the battery, ignition system, lights, and sensors. The wiring on the connecting board is responsible for transmitting electrical signals and power between these components.
Visual Inspection
The first step in diagnosing a wiring problem is a visual inspection. Start by turning off the motorcycle's engine and disconnecting the battery to avoid any electrical shock. Remove any covers or panels that are obstructing the view of the connecting board and its wiring.
- Check for Physical Damage: Look for any signs of cuts, frays, or burns on the wires. Physical damage can disrupt the flow of electricity and cause malfunctions. If you notice any damaged wires, they may need to be repaired or replaced.
- Loose Connections: Examine the connections between the wires and the connecting board. Loose connections can lead to intermittent electrical problems. Make sure that all the connectors are firmly seated and there are no signs of corrosion. Corrosion can impede the flow of electricity and should be cleaned using an appropriate electrical contact cleaner.
- Wiring Routing: Ensure that the wiring is routed properly and not pinched or chafed against any sharp edges or moving parts. Incorrect wiring routing can cause the wires to wear out over time and lead to short circuits.
Electrical Testing
If the visual inspection does not reveal any obvious problems, the next step is to conduct electrical testing. You will need a multimeter for this process.

- Continuity Testing: Set the multimeter to the continuity setting. This test checks if there is a complete electrical path through the wire. Touch one probe of the multimeter to one end of the wire and the other probe to the other end. If the multimeter beeps or shows a low resistance reading, it means the wire has continuity. If there is no beep or a high resistance reading, the wire is likely broken and needs to be replaced.
- Voltage Testing: To check if the wire is carrying the correct voltage, set the multimeter to the voltage setting. With the motorcycle's engine running or the electrical system turned on, touch the probes of the multimeter to the appropriate points on the wire. Compare the reading on the multimeter with the specifications provided by the motorcycle manufacturer. If the voltage is too low or too high, there may be a problem with the power source or a short circuit in the wiring.
Component - Specific Checks
Some problems with the motorcycle connecting board's wiring may be related to specific components.
- Ignition System: If the motorcycle has trouble starting or the engine misfires, the wiring related to the ignition system may be at fault. Check the wires connecting the ignition coil, spark plugs, and the key switch. Look for any signs of damage or loose connections.
- Lighting System: Issues such as dim or non - functioning lights can be due to wiring problems. Check the wires leading to the headlights, taillights, and turn signals. Test the bulbs to make sure they are not burned out before concluding that it's a wiring issue.
- Sensor Systems: Modern motorcycles are equipped with various sensors such as the throttle position sensor, oxygen sensor, and temperature sensor. If the motorcycle's performance is erratic or the check engine light comes on, the wiring to these sensors may need to be inspected.
Troubleshooting Based on Symptoms
The symptoms you observe can also give you clues about the wiring problem.
- Intermittent Issues: If the electrical problem occurs intermittently, it could be due to a loose connection or a wire that is damaged but still making occasional contact. Check all the connections thoroughly and inspect the wires for any signs of wear.
- Complete Electrical Failure: In the case of a complete electrical failure, start by checking the main fuse. A blown fuse can cut off power to the entire electrical system. If the fuse is intact, then the problem may lie in the wiring or the battery.
Importance of Professional Help
If you are unable to diagnose the wiring problem on your own or if you are not confident in your electrical skills, it's advisable to seek professional help. A qualified motorcycle mechanic has the experience and tools necessary to accurately diagnose and repair wiring problems.
Conclusion
Diagnosing a problem with the motorcycle connecting board's wiring requires a systematic approach. By starting with a visual inspection, conducting electrical testing, and troubleshooting based on symptoms, you can identify and resolve most wiring issues. As a Motorcycle Connecting Board supplier, I am committed to providing high - quality products that ensure reliable electrical connections in motorcycles.
If you are in the market for Motorcycle Connecting Boards or Motorcycle Connecting Plates, we can offer you the best solutions. Our products are designed and manufactured to meet the highest standards, ensuring long - term performance and durability. Contact us to discuss your procurement needs and let's work together to keep your motorcycles running smoothly.
References
- Motorcycle repair manuals from various manufacturers
- Electrical engineering textbooks on automotive wiring systems