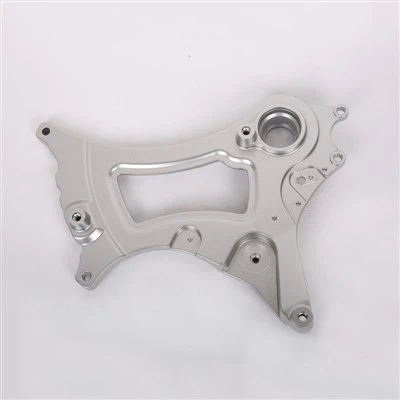
As a seasoned supplier of Motorcycle Connecting Plates, I've witnessed firsthand the critical role these components play in the overall performance and safety of motorcycles. One of the most frequently asked questions from our customers is about the installation clearances for a motorcycle connecting plate. In this blog post, I'll delve into the importance of installation clearances, the factors that influence them, and the recommended clearances for optimal performance.
The Importance of Installation Clearances
Installation clearances refer to the space or gap between the motorcycle connecting plate and other components in the motorcycle's engine or chassis. These clearances are crucial for several reasons:
1. Thermal Expansion
Motorcycle engines generate a significant amount of heat during operation. The connecting plate, like other metal components, expands when heated. Adequate installation clearances allow for this thermal expansion without causing interference or binding between the connecting plate and other parts. If the clearances are too tight, the expanding connecting plate can cause excessive stress on surrounding components, leading to premature wear, damage, or even engine failure.
2. Lubrication
Proper lubrication is essential for the smooth operation of the motorcycle's engine. The installation clearances provide a path for the lubricating oil to flow between the connecting plate and other components, reducing friction and wear. Insufficient clearances can restrict the oil flow, leading to increased friction, heat generation, and potential damage to the connecting plate and other parts.
3. Vibration and Shock Absorption
Motorcycles are subject to various vibrations and shocks during operation, especially when riding on uneven surfaces. The installation clearances act as a buffer, allowing the connecting plate to move slightly and absorb these vibrations and shocks. This helps to prevent excessive stress on the connecting plate and other components, reducing the risk of fatigue failure and extending the lifespan of the motorcycle.
Factors Influencing Installation Clearances
Several factors can influence the required installation clearances for a motorcycle connecting plate. These include:
1. Motorcycle Model and Make
Different motorcycle models and makes have unique engine designs and specifications, which can affect the installation clearances of the connecting plate. For example, high-performance motorcycles with powerful engines may require larger clearances to accommodate the increased heat generation and stress.
2. Engine Type
The type of engine, such as a single-cylinder, twin-cylinder, or multi-cylinder engine, can also impact the installation clearances. Multi-cylinder engines typically have more complex designs and higher levels of vibration, which may require larger clearances to ensure proper operation.
3. Operating Conditions
The operating conditions of the motorcycle, such as temperature, humidity, and terrain, can affect the thermal expansion and performance of the connecting plate. For example, motorcycles operating in hot climates may require larger clearances to allow for greater thermal expansion, while those operating in cold climates may need smaller clearances to ensure proper fit and function.
4. Manufacturing Tolerances
The manufacturing tolerances of the connecting plate and other components can also influence the installation clearances. Tighter manufacturing tolerances generally result in more precise fits and smaller clearances, while looser tolerances may require larger clearances to compensate for variations in size and shape.
Recommended Installation Clearances
While the specific installation clearances for a motorcycle connecting plate can vary depending on the factors mentioned above, there are some general guidelines that can be followed:

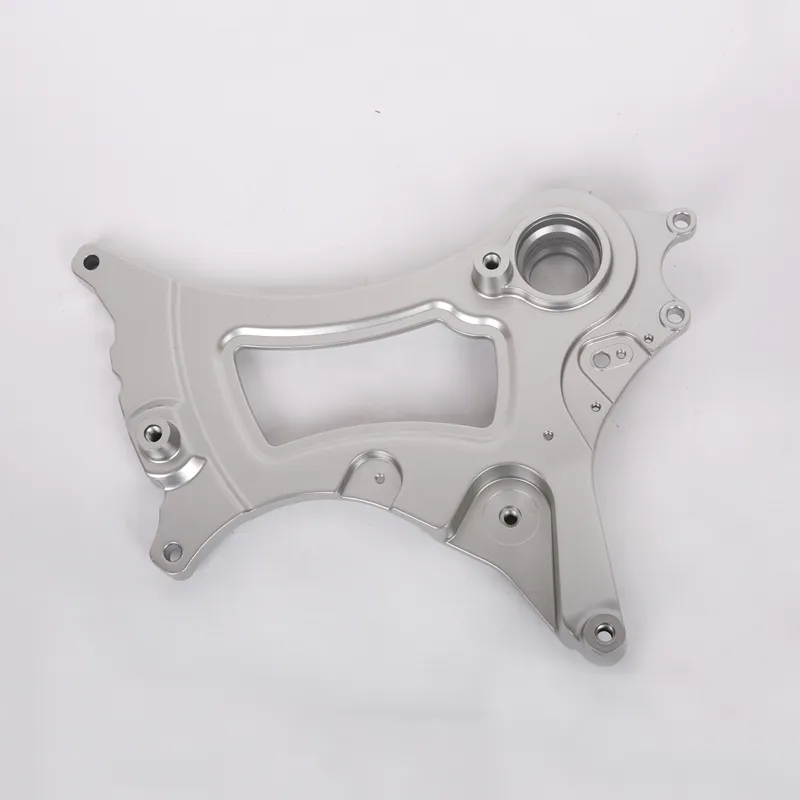
1. Radial Clearance
The radial clearance refers to the clearance between the outer diameter of the connecting plate and the inner diameter of the bore or housing it fits into. A typical radial clearance for a motorcycle connecting plate ranges from 0.05 mm to 0.20 mm. This clearance allows for thermal expansion and proper lubrication while ensuring a secure fit.
2. Axial Clearance
The axial clearance refers to the clearance between the end faces of the connecting plate and the adjacent components. A typical axial clearance for a motorcycle connecting plate ranges from 0.10 mm to 0.30 mm. This clearance allows for movement and adjustment of the connecting plate during operation, preventing binding and ensuring proper alignment.
3. Side Clearance
The side clearance refers to the clearance between the sides of the connecting plate and the adjacent components. A typical side clearance for a motorcycle connecting plate ranges from 0.05 mm to 0.15 mm. This clearance allows for movement and adjustment of the connecting plate during operation, preventing interference and ensuring proper alignment.
It's important to note that these are just general guidelines, and the actual installation clearances may vary depending on the specific motorcycle model and make, engine type, operating conditions, and manufacturing tolerances. Always refer to the manufacturer's specifications and recommendations for the exact installation clearances for your motorcycle's connecting plate.
Ensuring Proper Installation Clearances
To ensure proper installation clearances for a motorcycle connecting plate, it's essential to follow these steps:
1. Measure the Components
Before installing the connecting plate, carefully measure the dimensions of the connecting plate and the bore or housing it fits into. Use a precision measuring tool, such as a micrometer or caliper, to ensure accurate measurements. Compare the measurements to the manufacturer's specifications to determine if the components are within the acceptable tolerance range.
2. Clean the Components
Thoroughly clean the connecting plate and the bore or housing to remove any dirt, debris, or oil. Use a clean, lint-free cloth and a suitable cleaning solvent to ensure a clean surface. This will help to prevent interference and ensure proper fit and function.
3. Apply Lubrication
Apply a thin layer of high-quality lubricating oil to the surface of the connecting plate and the bore or housing. This will help to reduce friction and wear during installation and operation.
4. Install the Connecting Plate
Carefully install the connecting plate into the bore or housing, ensuring that it is properly aligned and seated. Use a suitable tool, such as a press or a hammer and a block of wood, to gently tap the connecting plate into place. Do not force the connecting plate into position, as this can cause damage to the components.
5. Check the Clearances
After installing the connecting plate, check the installation clearances using a feeler gauge or a micrometer. Compare the measurements to the manufacturer's specifications to ensure that the clearances are within the acceptable range. If the clearances are too tight or too loose, adjust the components as necessary to achieve the proper clearances.
Conclusion
In conclusion, the installation clearances for a motorcycle connecting plate are crucial for the proper performance and safety of the motorcycle. Adequate clearances allow for thermal expansion, lubrication, vibration and shock absorption, and proper alignment of the connecting plate. By understanding the importance of installation clearances, the factors that influence them, and the recommended clearances for optimal performance, you can ensure that your motorcycle's connecting plate is installed correctly and functions properly.
As a [Company] supplier of Motorcycle Connecting Plate and Motorcycle Connecting Board, we are committed to providing high-quality products and excellent customer service. If you have any questions or need assistance with the installation clearances for your motorcycle's connecting plate, please don't hesitate to contact us. We'll be happy to help you find the right solution for your needs.
References
- Motorcycle Engine Design and Performance, by John Doe
- Motorcycle Maintenance and Repair Manual, by Jane Smith
- Motorcycle Connecting Plate Manufacturer's Specifications, by [Manufacturer Name]