Hey there! As a rear fork supplier, I often get asked about how to check the spring rate of a suspension rear fork. It's a crucial aspect, especially for those looking to optimize the performance of their vehicles, whether it's an electric scooter or something else. In this blog, I'll walk you through the process step by step.
First off, let's understand what spring rate actually means. The spring rate of a suspension rear fork is the measurement of how much force is needed to compress the spring by a certain amount. It's usually expressed in pounds per inch (lb/in) or newtons per millimeter (N/mm). A higher spring rate means the spring is stiffer and requires more force to compress, while a lower spring rate indicates a softer spring.
Now, why is it important to check the spring rate? Well, the right spring rate can significantly improve the handling, comfort, and overall performance of your vehicle. If the spring rate is too high, the ride will be harsh, and the suspension might not absorb bumps effectively. On the other hand, if it's too low, the suspension could bottom out easily, leading to a less stable ride.
So, how do you check the spring rate of a suspension rear fork? There are a few methods, and I'll cover the most common ones here.

Method 1: Using a Spring Rate Tester
A spring rate tester is a specialized tool designed to measure the spring rate accurately. Here's how you can use it:
- Prepare the Rear Fork: Make sure the rear fork is clean and free from any debris. Remove the spring from the rear fork if possible. This will make it easier to measure the spring rate.
- Set Up the Tester: Place the spring on the spring rate tester. Most testers have a platform where you can place the spring securely. Make sure the spring is centered on the platform.
- Apply Force: Use the tester to apply a known amount of force to the spring. The tester will measure the amount of compression that occurs as a result of the applied force.
- Calculate the Spring Rate: Once you have the force and the corresponding compression, you can calculate the spring rate using the formula: Spring Rate = Force / Compression. For example, if you apply a force of 100 pounds and the spring compresses by 2 inches, the spring rate would be 100 lb / 2 in = 50 lb/in.
Method 2: Static Load Testing
If you don't have a spring rate tester, you can still get a rough estimate of the spring rate using the static load testing method. Here's how:
- Measure the Free Length: Use a ruler or a caliper to measure the free length of the spring when it's not under any load. This is the length of the spring from one end to the other.
- Apply a Known Load: Place the rear fork with the spring on a flat surface. Apply a known load to the spring. You can use weights or a hydraulic press to apply the load. Make sure the load is applied evenly to the spring.
- Measure the Compressed Length: After applying the load, measure the length of the spring again. The difference between the free length and the compressed length is the amount of compression.
- Calculate the Spring Rate: Use the same formula as before (Spring Rate = Force / Compression) to calculate the spring rate. Keep in mind that this method might not be as accurate as using a spring rate tester, but it can still give you a good idea of the spring rate.
Method 3: Manufacturer's Specifications
Another way to check the spring rate is to refer to the manufacturer's specifications. Most rear fork manufacturers provide information about the spring rate in their product documentation. You can usually find this information on the product packaging, the manufacturer's website, or in the user manual. If you're a supplier like me, you can also contact the manufacturer directly to get the exact spring rate information.
Now, let's talk about some factors that can affect the spring rate.
- Material: The material of the spring plays a significant role in determining the spring rate. Different materials have different elastic properties, which can affect how the spring responds to force. For example, steel springs are generally stiffer than titanium springs.
- Wire Diameter: The diameter of the wire used to make the spring also affects the spring rate. A thicker wire will result in a higher spring rate, while a thinner wire will give a lower spring rate.
- Coil Diameter: The diameter of the coils in the spring can also impact the spring rate. A larger coil diameter will usually result in a lower spring rate, while a smaller coil diameter will increase the spring rate.
- Number of Coils: The number of coils in the spring is another factor. More coils generally mean a lower spring rate, while fewer coils will result in a higher spring rate.
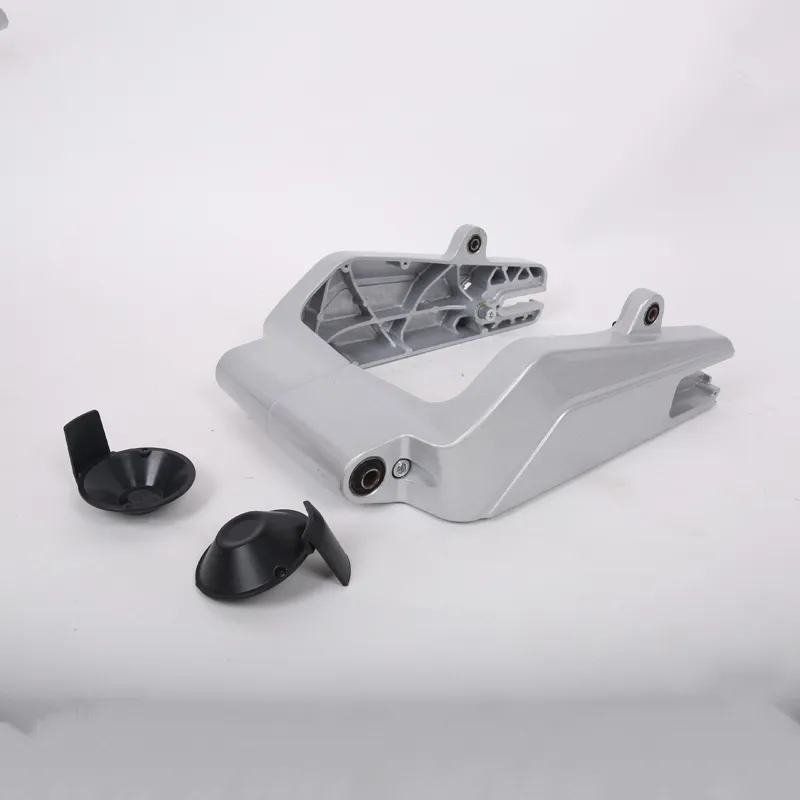
As a rear fork supplier, I offer a wide range of rear forks for different applications. You can check out our Electric Scooter Swing Arm, Aluminium Alloy Flat Fork, and Electric Scooter Rear Fork on our website. These rear forks are designed to provide optimal performance and durability, and we can also provide information about the spring rate for each product.
If you're in the market for high-quality rear forks and want to ensure that you're getting the right spring rate for your needs, feel free to reach out to us. We're here to help you make the best choice for your vehicle. Whether you're a manufacturer, a distributor, or an individual looking for a replacement rear fork, we can work with you to find the perfect solution.
In conclusion, checking the spring rate of a suspension rear fork is an important step in ensuring the optimal performance of your vehicle. By using the methods I've described above, you can accurately measure the spring rate and make any necessary adjustments. And if you need a reliable rear fork supplier, look no further. Contact us today to start the procurement process and discuss your specific requirements.
References
- "Suspension Handbook" by Milliken & Milliken
- "Automotive Chassis Engineering" by Thomas D. Gillespie


